How to Set Up an iPad Photo Booth for a Wedding (2026 Guide)
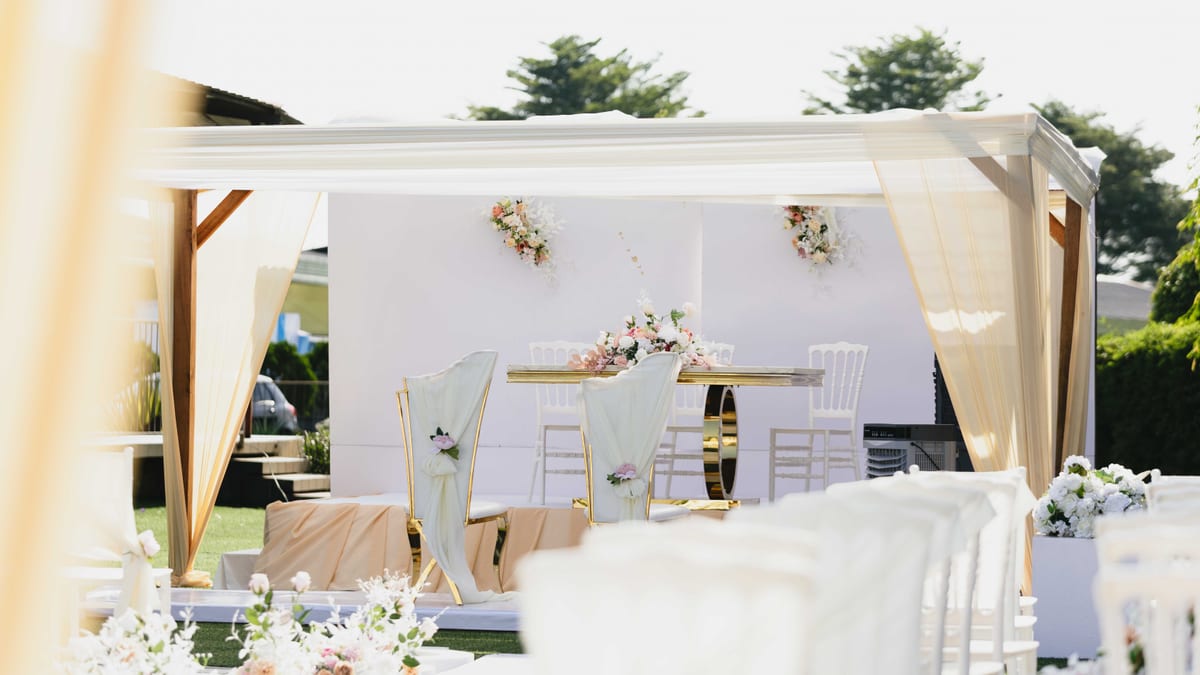
A wedding photo booth gets guests laughing, gives everyone a keepsake to take home, and fills your album with candid moments the photographer never sees. The good news: you don't need to rent a bulky kiosk for the night. With an iPad, a stand, and the right app, you can build a professional-quality wedding photo booth yourself — for a fraction of the cost. This guide walks through every step, from the gear checklist to running the booth on the big day.
Why an iPad photo booth instead of a rental?
Traditional photo booth rentals run $400–$900 for a few hours and arrive as a heavy enclosure you can't customize. An iPad photo booth flips that: it's light enough to sit on any table, the templates match your wedding colors exactly, and guests share their photos to their phones instantly. You also keep the setup — useful if you've got an engagement party, a rehearsal dinner, and the wedding itself.
The trade-off used to be image quality, since a tablet's front camera can't match a real camera in dim reception lighting. That gap closes once you can tether a DSLR — more on that below.
What you'll need: the gear checklist
- An iPad (iPadOS 17 or later). Any recent model works; a larger screen makes the live preview easier for guests to see.
- A stand or tripod with an iPad mount, ideally adjustable to roughly chest-to-eye height.
- A light. A simple ring light or softbox makes the biggest single difference to your photos — receptions are darker than they look.
- Optional: a Canon EOS camera for DSLR-quality shots over USB-C.
- Optional: an AirPrint photo printer if you want physical photo strips on the night.
- A backdrop and props — a sequin curtain or greenery wall plus a box of signs and glasses.
- The app — Soura Booth, which turns the iPad into a full kiosk and handles capture, templates, printing, and sharing.
Step 1 — Choose your camera: iPad or Canon DSLR
Start by deciding how the photos are captured. The iPad's built-in camera is completely fine for a casual, well-lit booth and needs zero extra hardware — it's the fastest way to get running.
For a wedding, though, a Canon DSLR photo booth is worth the extra step. A real lens and sensor handle low reception light far better and produce the crisp, flattering portraits people actually want to print. Soura Booth connects to a Canon EOS camera over USB-C and drives it directly — live view, shutter, and instant download — so the iPad still runs the show while the Canon takes the picture. See our guide to turning a Canon EOS R100 into a photo booth for the full tethered setup.
Step 2 — Install and configure Soura Booth
Download Soura Booth from the App Store and create a new event. Give it your names and wedding date — these can flow automatically onto every photo via template placeholders, so the date and a personal touch appear on each print without any manual editing.
Set an admin PIN before the night begins. This locks the booth into a full-screen kiosk so a curious guest can't exit the app or change your settings — they can only take photos. You unlock with the PIN when you need to adjust anything.
Step 3 — Design your wedding photo strip template
The template is what makes a DIY booth look intentional rather than improvised. Soura Booth includes ready-made layouts, or you can build your own in the free web template editor — drag and resize photo slots, add text, and drop in a monogram or floral overlay that matches your invitations.
Pick a size
- 2×6 classic strip — the nostalgic vertical strip, usually three or four shots. Great for printing two-up on 4×6 paper.
- 4×6 or 5×7 — a single larger photo with room for your names, the date, and a hashtag.
Add text zones with placeholders like your names and the date so every strip is personalized automatically. Export the design as a template file and import it into the app — the same format works from both the web editor and the in-app creator.
Step 4 — Set up printing (optional but loved)
Physical photo strips are the keepsake guests pin to the fridge for years. Soura Booth prints to any AirPrint printer on the same Wi-Fi, so a compact dye-sub photo printer is all you need. Configure it once:
- Turn on auto-print so a strip prints automatically after each session — no attendant required.
- Set the number of copies (one for the guest, one for your memory book is a popular choice).
- Enable cut marks for 2×6 strips, which print two-up on 4×6 and snip cleanly down the middle.
Step 5 — Sharing: QR codes guests actually use
Half the fun is guests posting photos before the night is even over. Soura Booth shows a QR code on the review screen — guests scan it with their phone and the photo lands in their camera roll.
It works two ways. Over your own Wi-Fi it shares completely offline, which is perfect for venues with no signal. When you do have internet, encrypted cloud sharing kicks in: photos are encrypted on the iPad before they ever leave it, and the key travels only inside the QR link — so no one but the guest, not even us, can open them. There's more on how that works in the FAQ.
Step 6 — Run the booth on the day
With everything configured, the day-of routine is simple:
- Position and light it. Place the booth where the line won't block the dance floor, and point your light at the guests, not the backdrop.
- Lock the settings. With camera settings locked and the admin PIN on, the booth stays exactly as you set it all night.
- Set out the props. A small sign — "Tap to start" — and a basket of props is all the instruction most guests need.
- Let the countdown do the work. The on-screen countdown and multi-shot sequence guide guests through each photo; they review, reprint, or reshoot on their own.
Frequently asked questions
Do I need an internet connection?
No. The booth runs and shares photos completely offline over your own Wi-Fi. Cloud sharing is optional and only used when you turn it on.
How much does an iPad photo booth cost to run?
If you already own an iPad, the app is free to try (exports carry a small watermark), and paid plans that remove the watermark and unlock DSLR capture, printing, and custom templates cost far less than a single night's rental. See the plans for current pricing.
Can guests use it without an attendant?
Yes — that's the point of kiosk mode. Once it's locked, guests tap, pose, and print entirely on their own.
Build your wedding photo booth tonight
Download Soura Booth, design a template that matches your big day, and have a working booth set up in an afternoon.
Get Soura Booth on the App StoreMore guides: explore the Soura Booth blog or head back to the homepage to see everything the app can do.