Turn a Canon EOS R100 Into a Photo Booth With Your iPad
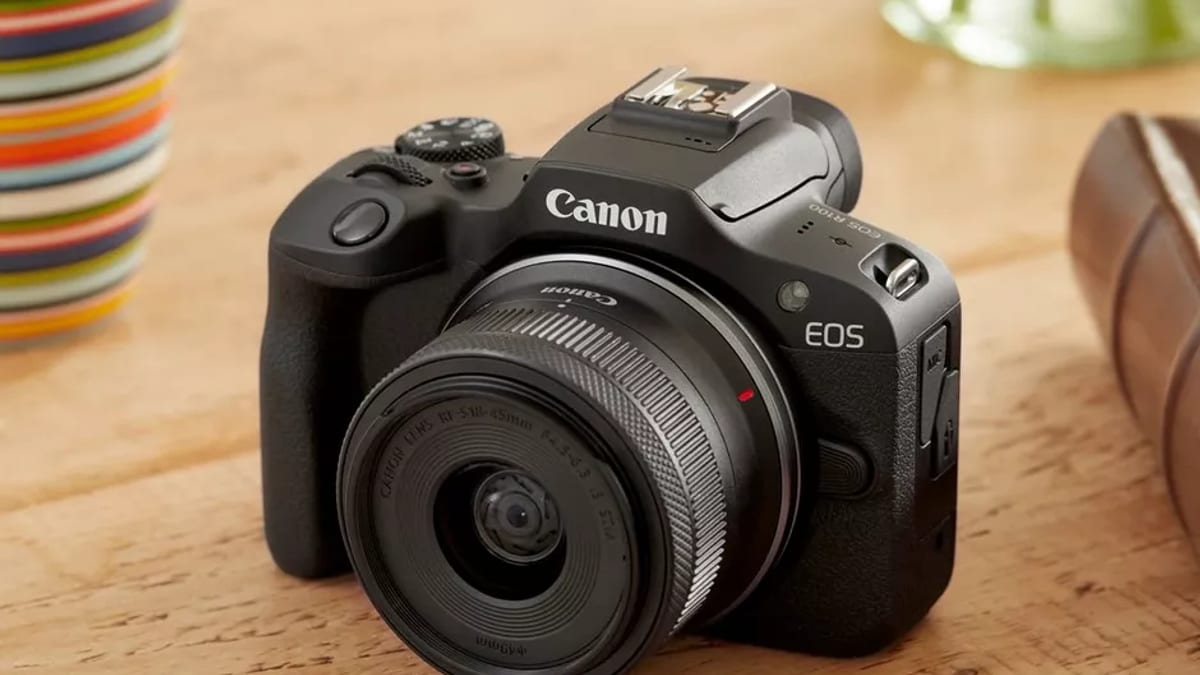
The Canon EOS R100 is one of the most affordable ways into real interchangeable-lens photography — which makes it a perfect camera for a DIY photo booth. Paired with an iPad running Soura Booth, it becomes a fully tethered booth: the iPad shows a live preview, fires the shutter, and pulls each photo across instantly to print and share. Here's how to set it up, what to expect, and the honest details on which cameras are supported.
Why a Canon DSLR beats the iPad's built-in camera
An iPad's front camera is fine in bright daylight, but most events happen in dim reception or party lighting where a small tablet sensor struggles — photos come out noisy, soft, and unflattering. A real Canon camera with a proper lens gathers far more light, gives you that crisp, shallow-depth portrait look, and produces images that hold up when printed. For a Canon photo booth, the R100 hits the sweet spot of price and quality.
What you'll need
- A Canon EOS R100 (the camera this guide is tested with — see the support note below).
- An iPad running iPadOS 17 or later.
- A USB-C cable to connect the camera to the iPad. The R100 has a USB port; pair it with your iPad's USB-C port.
- A charged camera battery (a dummy/AC battery adapter is ideal for a long event — live view drains a real battery quickly).
- A tripod or booth stand for both the camera and the iPad.
- Soura Booth on a Pro or Business plan — Canon DSLR capture is part of those tiers.
How the tethering works (in plain terms)
When you connect the R100, the iPad talks to it using the same standard protocol professional tethering tools use (PTP, over the iPad's camera framework). In practice that means three things happen automatically: the camera streams a live view to the iPad screen, the app triggers the shutter remotely, and each captured photo is downloaded straight into the booth pipeline — no SD-card shuffling. You drive everything from the iPad; nobody touches the camera once it's positioned.
Step 1 — Connect the R100 to your iPad
- Power the camera off first.
- Plug the USB-C cable into the iPad and the other end into the R100.
- Turn the camera on. If iPadOS shows a one-time prompt to allow the accessory to connect, accept it.
- Open Soura Booth and start your event — it discovers the Canon and switches the live view over to it.
Step 2 — Frame the shot and start live view
Mount the R100 on its tripod at roughly chest-to-eye height and frame your backdrop with a little headroom. The iPad mirrors what the camera sees, so you can fine-tune the composition from the screen. Set the lens to a focus mode that suits your booth — many operators lock focus on the spot where guests will stand so every shot is consistently sharp.
Step 3 — Dial in your camera settings
Soura Booth exposes the camera controls you need right in the booth — you can set exposure and lock the settings so they don't drift between guests. A good starting point for an indoor event:
- Add a light (a ring light or softbox) so you can keep the ISO reasonable and the shutter quick enough to freeze motion.
- Lock the settings once they look right, so an energetic guest can't knock the camera into a different mode.
- Do a quick test shot in the real room, at the real time of day — the single best habit for avoiding dark or blurry photos.
Step 4 — Capture, print, and share
From here the booth runs like any other: an on-screen countdown guides each guest, the R100 fires, and the full-resolution photo lands on the iPad in a second or two. Drop the shots into a custom template, auto-print strips to any AirPrint printer, and show a QR code so guests pull the photo straight to their phone — over local Wi-Fi (fully offline) or encrypted cloud sharing when you have internet. For a complete event walkthrough, see our wedding photo booth guide.
Is your camera supported? (Tested with the Canon EOS R100)
Soura Booth's Canon tethering is built and tested specifically with the Canon EOS R100. That's the body we develop against, so it's the one we can promise works end to end — connection, live view, capture, and download.
Other Canon EOS bodies use the same underlying protocol and may well work, but we don't list them as supported unless we've verified them. If you'd like to use a different Canon model, get in touch — tell us which body you have and we'll look into adding it. Many models are a matter of confirming a few camera-specific details on our side.
Troubleshooting common connection issues
The iPad doesn't see the camera
Re-seat the USB-C cable at both ends, make sure the camera is powered on, and confirm no other app (especially Photos import) is using it. A different, good-quality data cable resolves a surprising number of cases.
The connection drops mid-event
This is almost always power. Live view is demanding; use a fully charged battery or, better, an AC/dummy-battery adapter so the camera never sleeps or dies. Disable the camera's auto-power-off if it has one.
Photos look dark
Add light and re-check your exposure before locking it. Receptions are darker than they look to the eye — a single softbox makes a bigger difference than any setting.
Build a Canon photo booth this weekend
Get Soura Booth, connect your Canon EOS R100 over USB-C, and run a DSLR-quality booth from your iPad.
Get Soura Booth on the App StoreMore guides: explore the Soura Booth blog or head back to the homepage to see everything the app can do.